Properly setting up and utilizing BrilliantConnect should be straightforward for an intermediate FileMaker developer, but despite our best attempts to keep things as simple as possible, installation, setup and integration can still be complex. We offer a Brilliant Installation service to get you started as quickly as possible.
Please make sure your systems and solution meet the system requirements before proceeding.
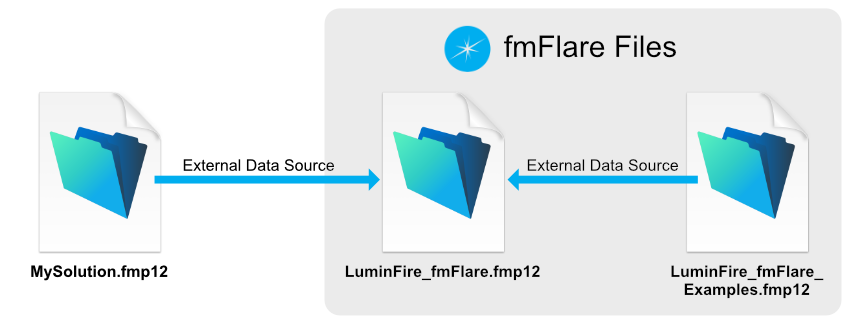
BrilliantConnect is distributed as two FileMaker database files:
LuminFire_BrilliantConnect.fmp12(locked file containing actual code modules)LuminFire_BrilliantConnect_Examples.fmp12(unlocked example file used for testing)
We recommend that LuminFire_BrilliantConnect.fmp12 be installed alongside your parent solution (e.g. MySolution.fmp12) on the same FileMaker server. While not as important, we also recommend that the Examples file be installed in the same location for convenience.

Installation
- Download the BrilliantConnect FileMaker files from your BrilliantConnect account’s Purchase History.
- If you are uploading the Examples file, you will need to add a password to the Admin account (or delete it and create your own), and optionally add Encryption at Rest (since you will likely be adding sensitive credentials).
- In FileMaker Pro, choose File > Sharing > Upload to Host…
- Select your server and authenticate.
- Add the BrilliantConnect files, select / confirm a destination folder, and click Upload.
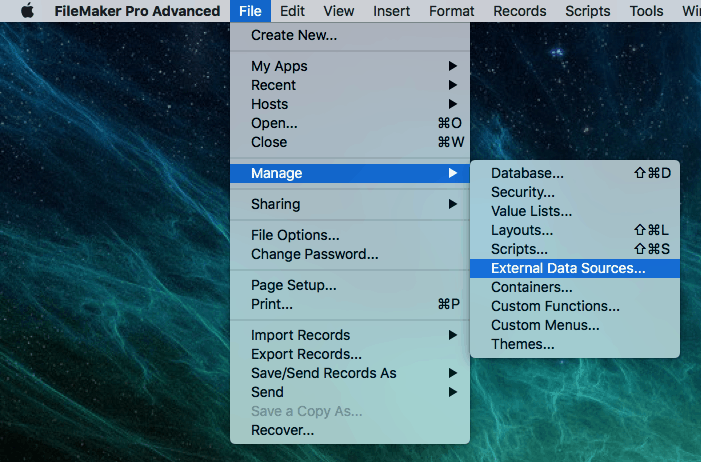
- From your parent solution (e.g. MySolution.fmp12), go to File > Manage > External Data Sources…

- Click the New… button and add an External Data Source of Type “FileMaker”.
- Enter “BrilliantConnect” for the Name.
- Click on Add File…, then Hosts and select
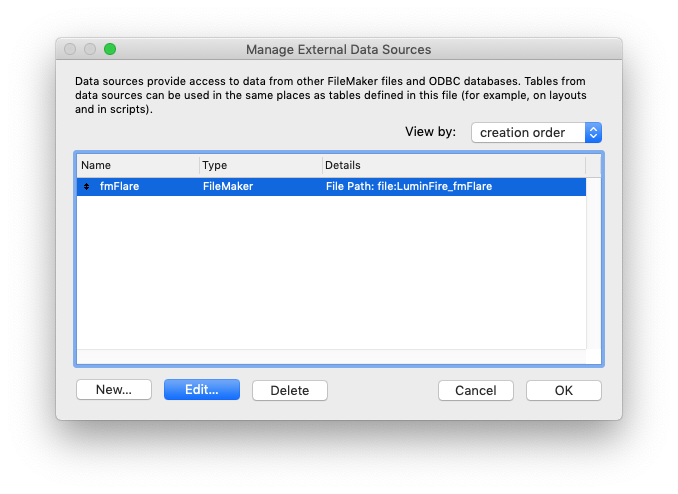
LuminFire_BrilliantConnect.fmp12from your server. - The data source will now appear in the Manage External Data Sources window:

- Click OK to close.